

 Book An Appointment



Dr. Garcia’s technique for Combined ACL and PCL reconstruction
Dr. Garcia specializes in complex knee, shoulder and elbow sports surgeries. He has prepared a number of surgical videos below to help patients better understand their procedures. He is frequently updating his surgical video database so check back soon for further updates.
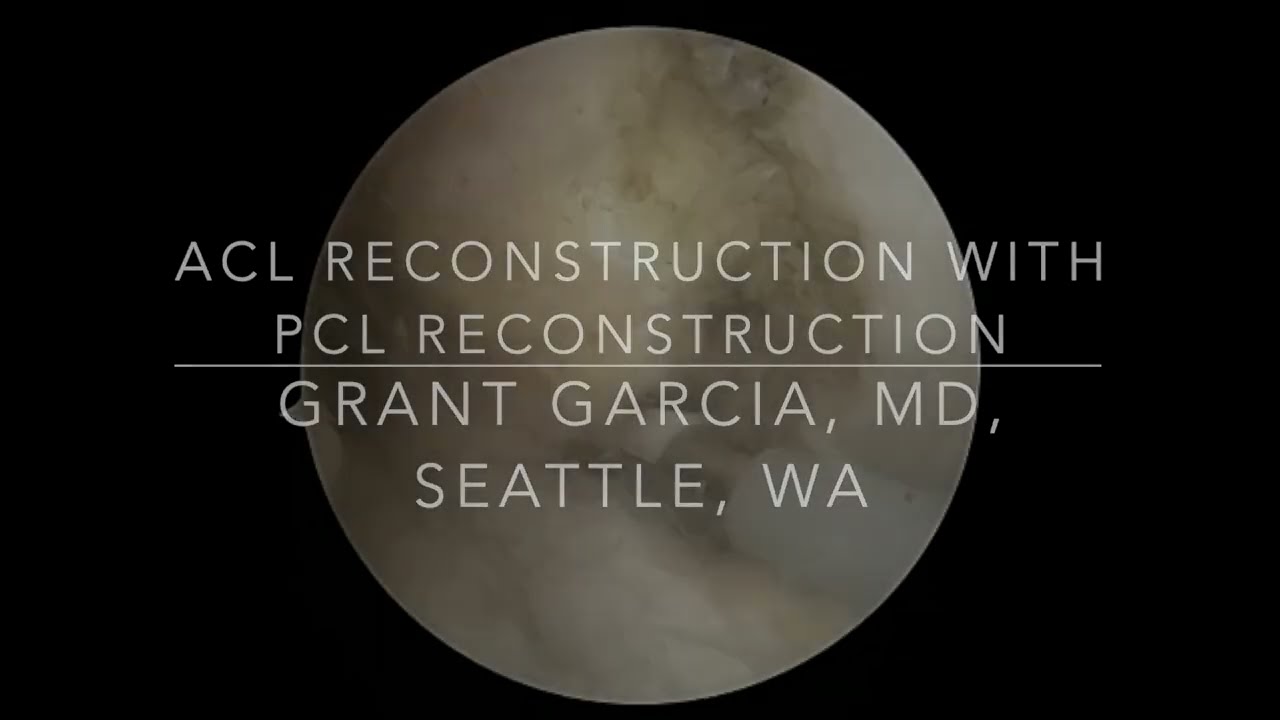

This video features Dr. Garcia demonstrating his surgical technique for a combined ACL and PCL reconstruction on a patient presenting with both ligaments torn. The procedure uses a patellar tendon autograft for the ACL, an Achilles allograft for the PCL, and incorporates tightrope fixation as well as modern internal braces for both structures to reduce overall long-term laxity.
The surgical procedure involves the following steps:
- Initial Preparation and Debridement: The torn remnants of both the ACL and PCL are debrided. The surgeon meticulously separates the damaged PCL from the femoral wall, intentionally leaving behind as much of the natural posterior tissue and native footprint as possible to help protect the sensitive neurovascular structures behind the knee.
- Posteromedial Access: A posteromedial portal is created, and an 8.25 mm cannula is placed. This critical step provides direct visualization and surgical access to work on the tibial side of the PCL. The surgeon clears the tissue down to the posterior anatomical drop-off near the popliteus muscle belly.
- Femoral Tunnel Drilling: Utilizing a specialized guide system, a pin is placed to drill the femoral tunnel for the PCL, followed by a tightrope reamer for button fixation. Next, the femoral tunnel for the ACL is drilled, ensuring a robust back wall of bone remains intact.
- Tibial PCL Tunneling under Fluoroscopy: Turning to continuous X-ray (fluoroscopic) guidance, the surgeon evaluates the guide positioning on the tibia. A guide pin is inserted, and a protective device is used during reaming to shield the posterior blood vessels and nerves. Once the tunnel is drilled all the way through, a shaver cleans the difficult turn at the top of the tibial ridge to prevent graft impingement during passage.
- Tibial ACL Tunneling: The tibial tunnel for the ACL is drilled using a pin and reamer. Care is taken to ensure that a safe distance of 2 to 3 centimeters is maintained between the newly drilled ACL and PCL tunnels on the tibia.
- Graft Passing and Fixation: The PCL button fixation is passed through the lateral portal. The Achilles allograft is pulled up through the tibial tunnel and verified via fluoroscopy, ensuring it does not bottom out so that post-tensioning remains possible. Next, the patellar tendon graft for the ACL is pulled into place, and its femoral button is flipped and verified.
- Final Tensioning: The surgeon locks down the tibial fixation for the PCL followed by the ACL. Both constructs are tightly retensioned, completing the double-ligament repair augmented by internal bracing to optimize joint stability.