

 Book An Appointment



Dr. Garcia’s 2023 technique for ACL repair with internal brace
Dr. Garcia specializes in complex knee, shoulder and elbow sports surgeries. He has prepared a number of surgical videos below to help patients better understand their procedures. He is frequently updating his surgical video database so check back soon for further updates.
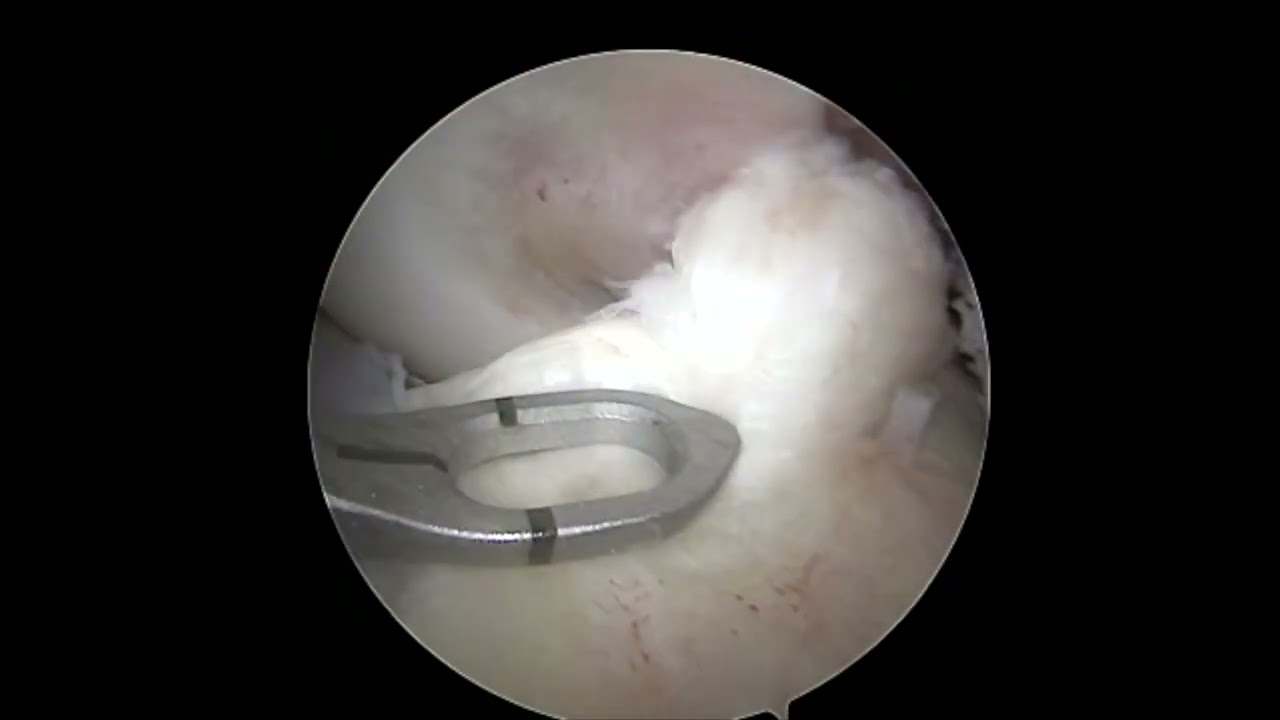
This video, titled "Dr. Garcia’s 2023 technique for ACL repair with internal brace," provides an updated walkthrough of an arthroscopic primary ACL repair combined with an internal brace. This procedure is specifically indicated for patients with a clean, proximal ACL tear (torn up near the thigh bone) where the remaining ligament tissue "stump" is healthy and well-preserved.
Instead of completely replacing the ligament with a graft, this technique preserves the patient's native tissue and reinforces it with a high-strength suture tape (the internal brace) to protect it while it heals.
The key surgical steps demonstrated in the video include:
- Debridement and Microfracture: The surgeon first cleans up (debrides) the torn area and the femoral wall. Small punctures are made in the bone footprint (microfracturing) to stimulate bleeding and deliver bone marrow elements to support tissue healing.
- Femoral Tunnel Preparation: A spade-tip pin is inserted through the medial portal and driven through both sides (bi-cortically) of the femoral wall. The tunnel length is measured so the surgeon knows exactly when the button fixation device will clear the bone. A passing suture is shuttled out through a lateral portal.
- Ligament Stitching: Using a specialized suturing tool (a shoulder Scorpion), the surgeon takes robust, strategic bites of tissue from each side of the torn ACL stump. The suture tails are channeled through different portals to avoid tangling.
- Threading the Device: The suture loops (FiberRings) holding the ACL tissue are threaded through an adjustable TightRope fixation device alongside the high-strength suture tape that serves as the internal brace. The surgeon tests them to ensure they slide smoothly.
- Fixation and Tensioning: The entire assembly is pulled up into the femoral tunnel. The cortical button is flipped flat against the outside of the bone to anchor it, and its position is checked via intraoperative X-ray. The internal brace and ACL sutures are then anchored down onto the shinbone (tibia) using a SwivelLock anchor.
- Final Assessment: The surgeon tightens the adjustable loops, pulling the native ACL stump firmly back up against its original femoral attachment site. The final view shows a taut, anatomically restored ACL, completely resolving the patient's knee laxity (Lachman test).