

 Book An Appointment


Dr. Garcia demonstrates his technique for SLAP repair
Dr. Garcia specializes in complex knee, shoulder and elbow sports surgeries. He has prepared a number of surgical videos below to help patients better understand their procedures. He is frequently updating his surgical video database so check back soon for further updates.
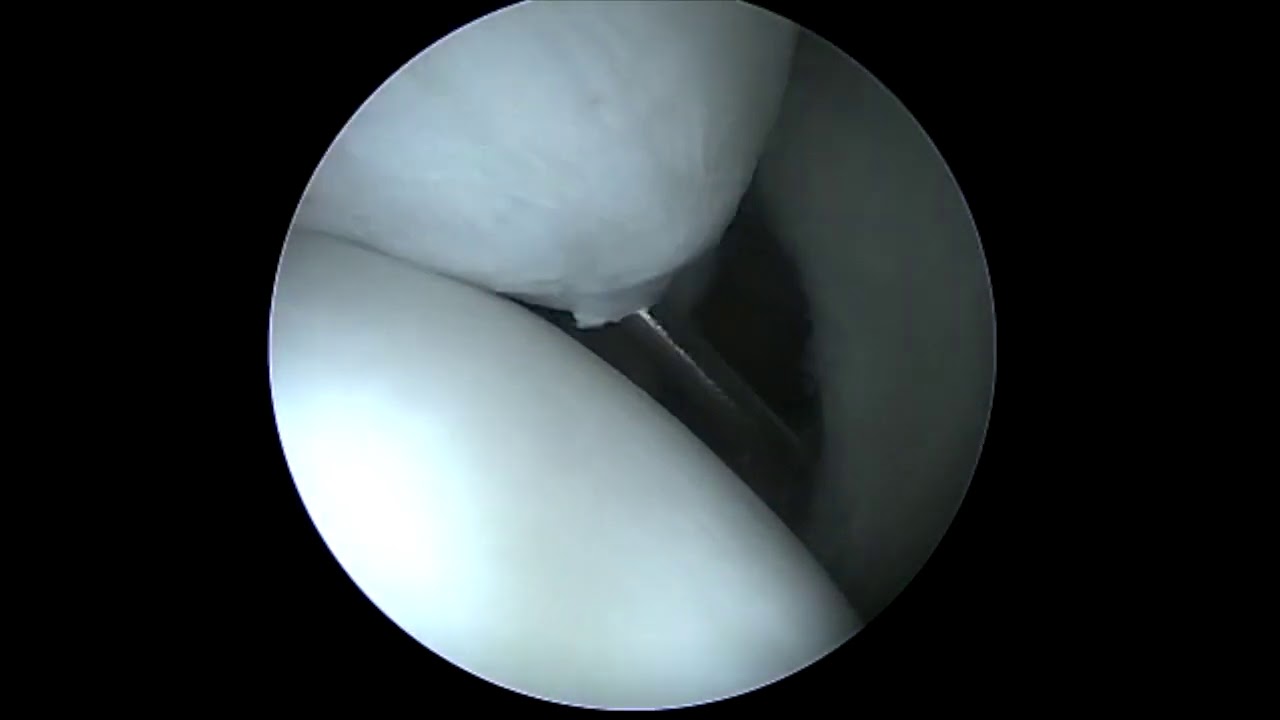
In this video, Dr. Grant Garcia demonstrates his precise surgical technique for an arthroscopic SLAP (Superior Labrum Anterior to Posterior) repair of the shoulder. The patient is a younger individual dealing with chronic superior labral pain who had previously failed conservative management, including a cortisone injection and physical therapy.
During the initial assessment under anesthesia, the long head of the biceps tendon is found to be pristine and perfectly stable inside its groove, but there is significant hypermobility of the superior labrum, stretching to roughly the 10 o'clock position.
The procedure walks through these key clinical stages:
- Bone Bed Preparation (Micro-abrading): Dr. Garcia uses an arthroscopic shaver and bone cutter to lightly debride and debulk the hypermobile labral tissue. He then switches to a bone-cutting tool and a surgical rasp to aggressively scratch and rough up the underlying subchondral bone of the superior glenoid rim. Exposing raw, bleeding bone is vital to facilitate stable biological bone-to-tendon healing.
- Percutaneous Portal Placement & Sequential Dilation: To achieve a perfect angle for anchor insertion without damaging the rotator cuff, Dr. Garcia establishes a specialized percutaneous, trans-tendinous portal. He utilizes a 17-gauge spinal needle and a nitinol (NiTi) wire to place a small guide, which is sequentially up-sized using dilators to safely introduce a 5.75 mm working cannula.
- First Knotless FiberTack Placement: Working through the newly placed cannula, the first 1.8 mm knotless FiberTack anchor is drilled and impacted into the glenoid rim. Dr. Garcia uses a specialized suture passer (Linfatec/Linvatec) to pierce the superior labrum tissue. A PDS suture is passed through as a template loop, shuttling the heavy repair tape through the tissue.
- Knotless Cinching: The repair strand is passed through the anchor's built-in self-locking loop mechanism. Dr. Garcia points out that these newer all-suture knotless anchors allow the surgeon to customize the exact amount of tension and compression needed. Once optimal tension is reached, a flat knot cutter is pushed down to secure the lock and cut the suture tail flush.
- Second Anchor Fixation: A second knotless FiberTack anchor is driven into the bone closer to the base of the long head of the biceps tendon. Dr. Garcia passes a 90-degree suture lasso through the labrum, uses another PDS shuttling line to guide the suture tape through, and cinches the mechanism under maximum compression.
- Anatomical Verification: A final arthroscopic check shows that the previously unstable posterior-superior labral tear is securely pinned down and immobilized. Dr. Garcia notes that he deliberately left a standard, non-pathological sub-labral foramen (a normal anatomic variant where the labrum naturally lifts slightly off the bone ahead of the biceps) untouched, as fixing it would unnecessarily restrict normal joint kinematics.