

 Book An Appointment


Dr. Garcia demonstrates his LFC MACI Arthro Technique
Dr. Garcia specializes in complex knee, shoulder and elbow sports surgeries. He has prepared a number of surgical videos below to help patients better understand their procedures. He is frequently updating his surgical video database so check back soon for further updates.
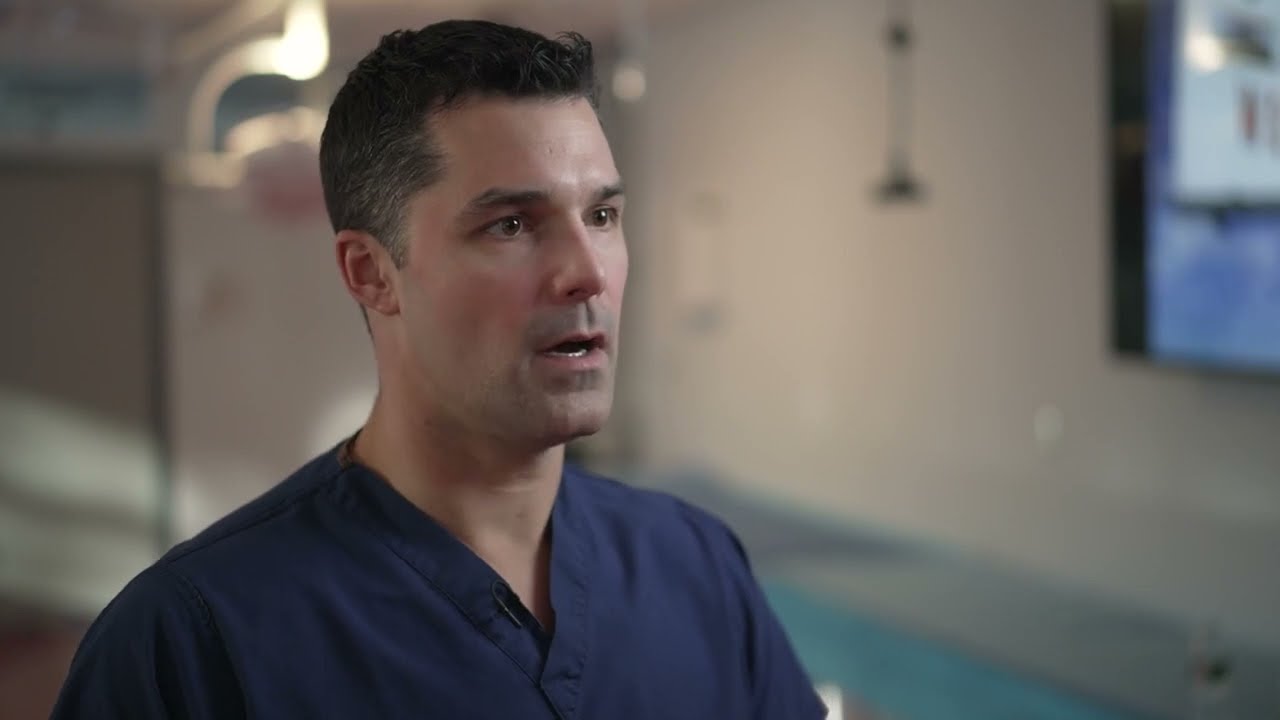

This video features Dr. Garcia demonstrating a MACI Arthro procedure on the lateral femoral condyle (LFC) of a right knee. This walkthrough focuses on the specialized portal setup, instrumentation, and technical steps required to perform a completely arthroscopic cartilage repair on the lateral side of the joint.
The surgical procedure involves the following steps:
- Portal Setup and Access: Because a lateral femoral condyle defect requires a different angle of attack than a medial defect, specific portal placement is vital. The surgeon marks out the fibular head to guide positioning, clears out the neighboring fat pad to maintain visual clarity, and establishes a specialized viewing portal medially to look directly across at the lateral side. A transpatellar working portal is then made to introduce a large 15 mm cannula directly in line with the defect.
- Defect Measurement: The surgeon inserts the MACI Arthro measurement guide through the cannula. They deploy the guide's measuring tip across the length of the defect, checking it from multiple camera angles to determine the exact size needed for the custom-cut implant membrane.
- Template Outlining: A smaller, angled template cutter is inserted through the cannula via the intercondylar notch to avoid accidental cartilage damage. Once aligned against the LFC by flexing or extending the knee, the assistant gently mallets the device to stamp out a distinct, uniform boundary around the lesion down to the subchondral bone.
- Defect Preparation (Curetting): The surgeon utilizes three distinct types of curettes provided in the set: a circular curette to act as the primary "workhorse" for clearing out the damaged tissue down to the calcified cartilage layer, a square-sided guide for sharpening up edges, and a rake tool for finalizing the deep borders. They keep their fingers braced close to the cannula to prevent the tools from slipping onto healthy cartilage. A shaver is periodically used to evacuate loose debris.
- Hemostasis and Drying: To prepare for graft placement, the surgeon shifts to a "dry scope" environment, drains any residual fluid, and uses a specialized sponge insertion technique alongside cotton-tipped applicators to completely dry out the bone bed. An absorbable PDS retraction suture is placed to hold back the fat pad from obstructing the view.
- Graft Cutting and Loading: On the sterile back table, the cultured MACI membrane is placed cell-side up onto a single-use cutting block. The surgeon mallets down a sharp, matching template cutter using calibrated pressure. Once isolated, the custom-sized graft is loaded symmetrically onto the V-shuttle tool, which relies on an integrated suction seal to securely hold the delicate membrane.
- Implantation and Sealing: A base layer of fibrin sealant (Tisseel) is applied to the dry defect using a spinal needle. The V-shuttle tool is guided through the cannula, and the graft is deployed over the bone. The surgeon utilizes a specialized plastic-tipped probe to smooth out the membrane, tuck the borders cleanly inside the defect, and squeeze out any air pockets. A top layer of fibrin sealant is applied and left to cure for 3 minutes.
- Final Testing: The surgeon performs multiple full cycles of manual knee flexion and extension. The MACI implant demonstrates stable fixation with absolutely no shifting or lifting at the borders, allowing the surgical team to remove the cannulas and clear the patient to begin immediate postoperative range-of-motion rehabilitation.